5 Simple Ways To Improve Your Horse Photos
Kristine Dahms, mastermind behind the increasingly popular Life Between the Ears, shares tips on how to take great travel photos from the saddle.
by Kristine Dahms
It seems so easy until you try it. You’ve got one hand on the reins, the other on the shutter button. Your horse won’t stand still. Better vertical or horizontal? Wait, horizontal’s better, but now my horse moved. Are his ears forward? Rats. He moved again, now the light is in my eyes—wait—now I can’t see in that direction.
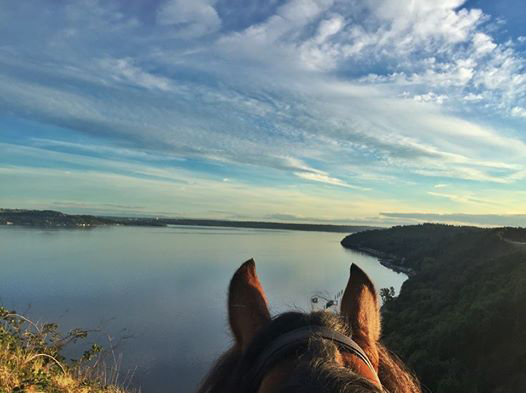
Puget Sound, Washington, U.S. by Kristine Dahms
It’s not easy but it’s worth it if you take the time to practice and are willing to experiment. Here are my top five tips for improving your photos. For the most part, I’m going to assume the majority of you use your phone camera.
1. Take 57 Shots To Get One Good One
The first rule is one I learned from my husband, who is a commercial photographer. Take a million shots to get one, single, good one. I’m not kidding. I literally have over 16,000 photos on my phone at the moment, and only a tiny fraction are worth sharing. The more you take, the more you learn what to hone in on: “Is the horizon line straight? Are the ears forward? Did the subject move? Did your horse move? Again? Which direction to face to capture the best light? This other angle really has a better view.”

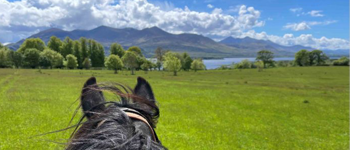
Rybinsk, Russia by Dasha Prokhorov
2. Sugar Cubes Are Your Friend
There are two camps: those that don’t believe in treats for their horses, and those that do. I fall into the category of a being a Pez dispenser with all my critters. Yes, they can sometimes get a bit greedy but, for the most part, it has served me well both with my horses and my dogs. When I took photos from the back of my old, steady eddy fellow, it was easy. He would halt and stand still as long as I needed to get the shot. So much patience. I always gave him a sugar cube after I got the shot. He knew the routine and the sound of Velcro meant the treat was on its way. But when I stepped up my game and got a young, green horse, I realized I had a lot of work to do. I had taken for granted Baloo’s patient and calm demeanor, and now I could barely get my young guy to halt, let alone stand still for more than a single second. But we worked up to it, one second at a time—literally—and now he can stand (usually) as long as I need to get the shot. Think of it as almost like clicker training.
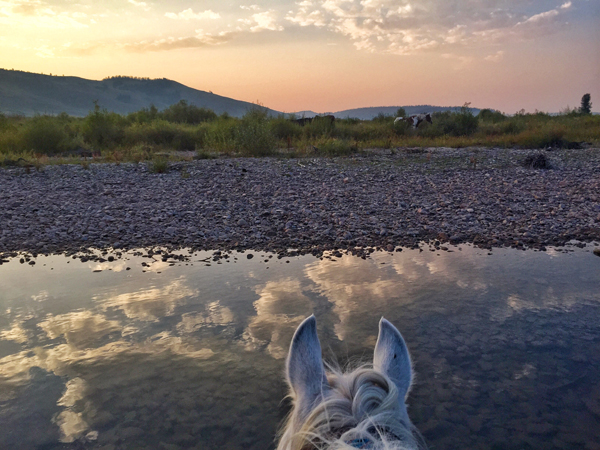
Bondurant, Wyoming by Liz Steward
3. Get Closer to Your Subject. Literally.
Unless you are shooting with special lenses, and especially if you are shooting with an iPhone, or any phone camera, always get closer to your subject than you think you need to be. You want to focus on the subject, and eliminate the unnecessary. Test it out: try the same shot several times, each time getting a little closer.
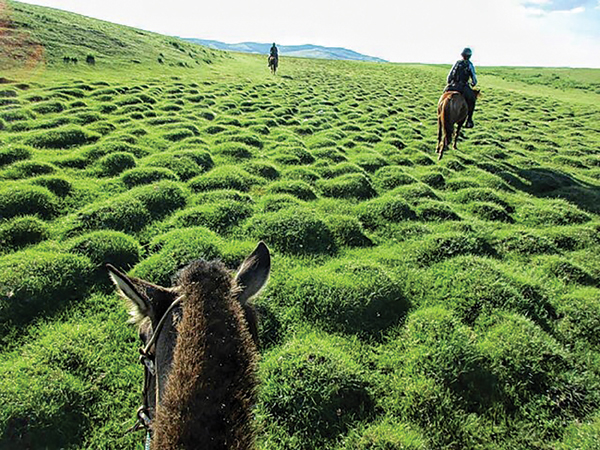
Urtuu, Mongolia by Uma Mencia Uranga
4. Morning or Early Evening Light is Usually Best
Morning or evening photos have better, more flattering light quality than mid-day when the sun is directly above, and at its harshest, shining directly straight down and casting shadows and strong highlights, frequently causing overexposure. Instead, aim for the Golden Hour, sometimes referred to as the Magic Hour—which is a period shortly after sunrise, and shortly before sunset, where daylight is a warmer tone and softer than when the sun is high in the sky—you’ll get that beautiful all-over glowy effect. Here’s a nifty link that calculates the Golden Hour from anywhere in the world.
.jpg)
Pyramids, Egypt by Hussein Gazia
5. Use Editing Tools
There are a million photo apps out there now, and the one I started with was simply the edit feature in iPhoto on my phone. The magic wand in the upper right corner of the photo when you’re in the photo album is a great tool for simple, automatic adjustments to contrast and tone. Personally, I’m not a big fan of heavy filters. Instead, I prefer to experiment and am sometimes even able to salvage a bad shot using Snapseed. Other apps I sometimes use are Tadaa, and Hipstamatic. Play around with them, there are so many options it’s amazing what you can do you can do on your phone camera now!
I hope you’ve found some useful tidbits here, and look forward to seeing your next photos—and remember to tag #LifeBetweenTheEars so I can find them out there on the interwebs. Ride On! ^ ^
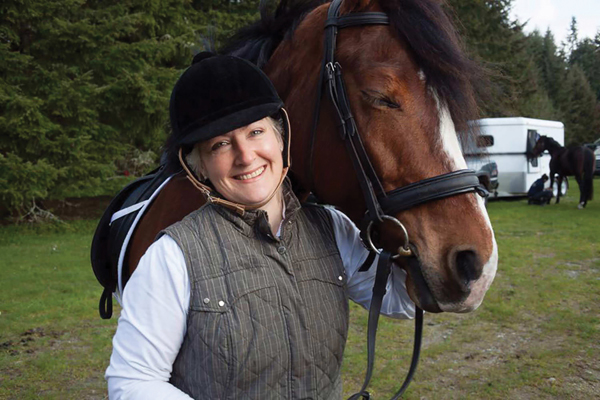
.jpg) About the author: Like many, Kristine has loved horses from the get go. She was fortunate to grow up in some of the most beautiful rural areas of the Pacific Northwest and ride in vast, open spaces. After taking abreak from horses to build her graphic design career as Twist Design, she was able to finally return to horses in her forties and began taking photos between her horse's ears in 2008. Having gained an extensive social media following using the hashtag #LifeBetweenTheEars, and others sharing their photos from around the globe, she merged her love of graphic design and horses, and created a line of Life Between The Ears equestrian note cards. Kristine is a graphic designer, art director, collaborator, aspiring dressage rider, wife of patient photographer, servant to two horses, two labs, two cats, three pygmy goats, and two chickens. Life on an island with an imaginary housekeeper named Rita.
About the author: Like many, Kristine has loved horses from the get go. She was fortunate to grow up in some of the most beautiful rural areas of the Pacific Northwest and ride in vast, open spaces. After taking abreak from horses to build her graphic design career as Twist Design, she was able to finally return to horses in her forties and began taking photos between her horse's ears in 2008. Having gained an extensive social media following using the hashtag #LifeBetweenTheEars, and others sharing their photos from around the globe, she merged her love of graphic design and horses, and created a line of Life Between The Ears equestrian note cards. Kristine is a graphic designer, art director, collaborator, aspiring dressage rider, wife of patient photographer, servant to two horses, two labs, two cats, three pygmy goats, and two chickens. Life on an island with an imaginary housekeeper named Rita.
Connect with Kristine on Facebook, Instagram, Twitter, Pinterest and check out the Life Between the Ears website.

